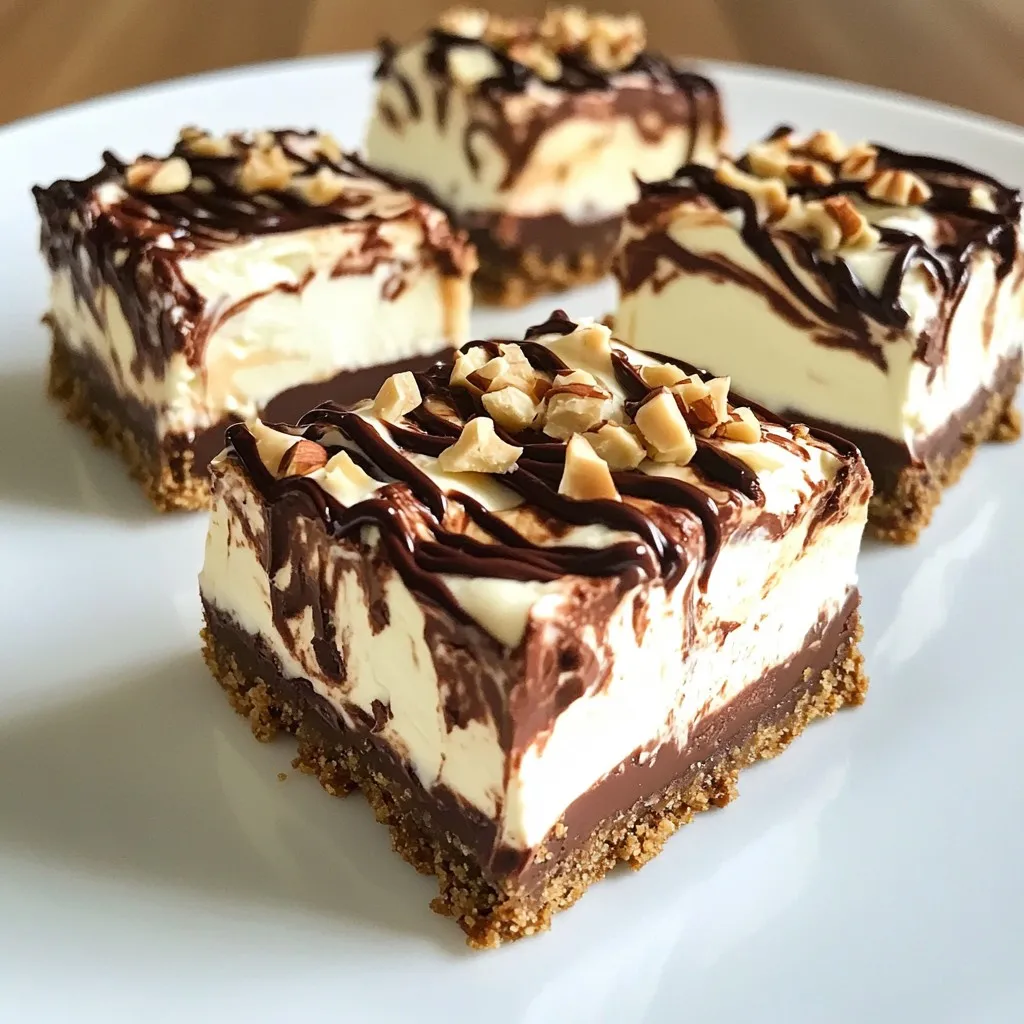
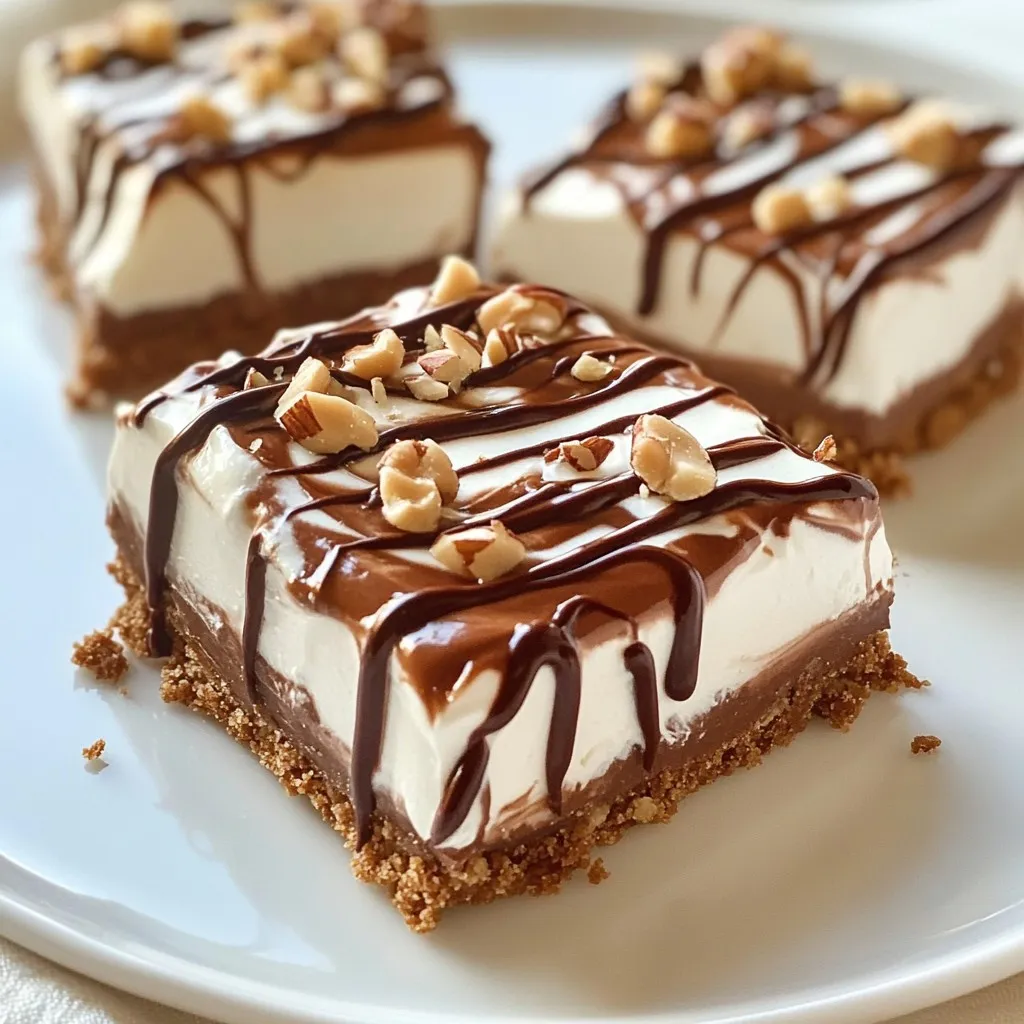
Craving a sweet treat that’s easy to make? Dive into my No-Bake Chocolate Hazelnut Cheesecake Bars. These bars are both creamy and crunchy, perfect for satisfying your chocolate cravings without turning on the oven. With simple ingredients and straightforward steps, you can impress friends and family with this delightful dessert. Ready to learn how to whip up this scrumptious treat? Let’s get started!
Ingredients
List of Required Ingredients
To make No-Bake Chocolate Hazelnut Cheesecake Bars, gather these ingredients:
– 1 ½ cups hazelnut cookies, crushed
– ¼ cup unsalted butter, melted
– 1 cup cream cheese, softened
– ½ cup powdered sugar
– 1 cup hazelnut spread (like Nutella)
– 1 teaspoon vanilla extract
– 1 cup heavy cream, whipped
– ½ cup dark chocolate chips, melted
– Chopped hazelnuts, for topping
If you need substitutions, here are some options:
– Use gluten-free cookies for a gluten-free version.
– Swap cream cheese with vegan cream cheese for a dairy-free option.
– Choose a nut-free spread if you have nut allergies.
Equipment Needed
To create these tasty cheesecake bars, you will need some key tools:
– Mixing bowls for combining ingredients
– A hand mixer or stand mixer for beating cream cheese
– An 8×8-inch square pan for setting the bars
– A spatula to spread the filling evenly
– Plastic wrap to cover the pan while chilling
Having the right equipment makes the process easier and more fun!
Step-by-Step Instructions
Preparing the Crust
To make the crust, start by mixing your crushed hazelnut cookies with the melted butter. Use a bowl and stir well. You want all the crumbs to be coated in butter. Next, take an 8×8-inch square pan and line it with parchment paper. This helps with removing the bars later. Now, press the cookie mixture firmly into the bottom of the pan. Use the back of a measuring cup for even pressure. Make sure it’s tight and flat. If your crust is not pressed evenly, it may fall apart later. Once done, place the pan in the fridge while you work on the filling.
Making the Cheesecake Filling
In a separate bowl, beat the softened cream cheese with powdered sugar. Mix until it is smooth and creamy. This step is key to avoid any lumps in your filling. Then, add in the hazelnut spread and vanilla extract. Blend it all together until fully combined. You want it to be silky and rich. Now, take your whipped cream and gently fold it into this mixture. Be careful here; you don’t want to deflate that fluffy cream!
Assembling the Cheesecake Bars
Once your filling is ready, pour it over the chilled crust. Use a spatula to spread it evenly. Next, take your melted dark chocolate and drizzle it on top. This is where you can get creative! Use a knife or toothpick to swirl the chocolate into the filling. This creates a beautiful marbled effect. It will not only look good but taste amazing too.
Chilling and Serving
Cover the pan with plastic wrap and place it in the fridge. Let it chill for at least 4 hours. This helps the cheesecake set nicely. After it’s firm, lift the cheesecake out of the pan using the parchment paper. Cut into bars of your desired size. Before serving, sprinkle chopped hazelnuts on top for a nice crunch. Enjoy your delicious and easy no-bake cheesecake bars!
Tips & Tricks
Tips for Success
When making No-Bake Chocolate Hazelnut Cheesecake Bars, avoid common mistakes.
– Crust Issues: If the crust crumbles, press it down more firmly. Use the back of a measuring cup for even pressure.
– Temperature Matters: Always use room temperature cream cheese. Cold cream cheese clumps and makes mixing hard.
Expert Know-How
To get fluffy whipped cream, chill your mixing bowl and beaters.
– Whipping Tips: Start on low speed, then increase to medium. This helps form soft peaks without splattering.
– Taste Testing: Always taste your cheesecake filling. Adjust sweetness by adding more powdered sugar if needed.
Presentation Ideas
Serving your cheesecake bars well makes them more appealing.
– Serving Suggestions: Cut the bars into triangles for a fun look. Serve on a colorful plate to brighten the dish.
– Garnishing Ideas: Beyond chopped hazelnuts, try fresh berries or a drizzle of caramel. These add color and flavor contrast.
Variations
Ingredient Swaps
You can change the cookie base to fit your needs. Try gluten-free cookies if you want a gluten-free option. Almond or oat cookies work well for this. You can also use digestive biscuits for a different taste.
For hazelnut spread, there are many choices. Look for brands like Justin’s or Nutiva if you want organic options. You can even try a chocolate spread made from sunflower seeds if you need a nut-free version.
Flavor Variations
To spice up the flavor, add a bit of coffee or orange zest. Coffee gives a rich depth, while orange zest adds a nice citrus note. Both pair well with chocolate and hazelnut. If you want a chocolate-free version, swap the hazelnut spread for almond or vanilla cream for a lighter taste.
Dietary Considerations
For vegan cheesecake bars, use coconut cream instead of cream cheese. This keeps the texture creamy and rich. Swap the butter with coconut oil for the crust. Use a plant-based sweetener like maple syrup for the filling.
If you’re looking for lower-calorie swaps, consider using low-fat cream cheese. You can also use Greek yogurt instead of heavy cream. This keeps the taste while cutting down the calories.
Storage Info
Proper Storage Techniques
To keep your No-Bake Chocolate Hazelnut Cheesecake Bars fresh, follow these steps:
– Use an airtight container. This helps to keep moisture away.
– Store in the fridge. The cool air helps maintain the creamy texture.
– Place parchment paper between layers. This prevents sticking and keeps bars intact.
These tips will ensure your cheesecake bars stay delicious for days.
Freezing Instructions
You can freeze these cheesecake bars if you want to save some for later. Here’s how:
– Cut the bars into pieces before freezing. This makes it easy to grab a piece when you crave it.
– Wrap each bar tightly in plastic wrap. This helps prevent freezer burn.
– Place wrapped bars in a freezer bag. Squeeze out as much air as possible before sealing.
To enjoy your frozen bars, follow these thawing guidelines:
– Move the bars to the fridge. Let them thaw overnight for the best taste.
– Serve chilled. This keeps the texture creamy and delightful.
These steps will help you enjoy your cheesecake bars even after freezing!
FAQs
What can I substitute for hazelnut cookies?
You can use several options if you need a substitute for hazelnut cookies. Here are some ideas:
– Graham crackers: A classic choice that offers a sweet base.
– Oreo cookies: Great for a chocolatey twist.
– Almond cookies: If you want a nutty flavor but need a different nut.
– Gluten-free cookies: Look for brands that cater to gluten-free diets.
These alternatives can work well, but be aware of taste and texture differences.
How long do these cheesecake bars last in the fridge?
These cheesecake bars can last up to five days in the fridge. Just keep them in an airtight container to maintain their freshness. The flavor and texture are best within the first few days.
Can I make these bars ahead of time?
Yes, you can make these bars up to three days in advance. Prepare them, chill them, and store them in the fridge. This way, they will be ready for your party or gathering. Just remember to garnish with chopped hazelnuts just before serving.
What if I don’t have heavy cream?
If you lack heavy cream, you can use:
– Whipping cream: This is a good substitute but may be slightly less rich.
– Coconut cream: A great option for a dairy-free version.
– Milk mixed with butter: For each cup, use ¾ cup of milk and ¼ cup of melted butter.
These substitutes will change the texture a bit, but they still work.
Can I cut different shapes or sizes than bars?
Absolutely! You can cut these into squares, triangles, or even shapes using cookie cutters. This adds fun to your serving. You can also make mini versions in muffin tins for bite-sized treats. Just be sure to adjust chilling time if using smaller portions.
You now have all the tools to make No-Bake Chocolate Hazelnut Cheesecake Bars. We covered ingredients, equipment, and step-by-step instructions for a perfect dessert. I shared tips for success and variations to fit any need. Remember to chill your bars for the best taste and texture. Whether it’s for a party or a sweet treat at home, these bars are sure to impress. Enjoy experimenting with flavors and presentations. Happy baking!
