Ready to add a spooky twist to your Halloween treats? This Black Velvet Halloween Cake is both delicious and strikingly dark. I’ll guide you through the steps to create this festive dessert that will impress your guests. With its rich flavor and stunning appeal, it’s the perfect centerpiece for any Halloween celebration. Let’s dive into the ingredients and get baking!
Ingredients
Detailed Ingredient List
– 2 cups all-purpose flour
– 1 ½ cups granulated sugar
– ¾ cup unsweetened cocoa powder
– 1 teaspoon baking soda
– 1 teaspoon baking powder
– ½ teaspoon salt
– 1 cup buttermilk, at room temperature
– ½ cup vegetable oil
– 2 large eggs
– 2 teaspoons vanilla extract
– 1 cup boiling water
– Black gel food coloring (optional, for a deeper color)
– 1 cup heavy whipping cream
– ½ cup powdered sugar
– 1 teaspoon vanilla extract (for the whipped cream)
– Edible glitter or Halloween-themed sprinkles for decoration
To create this Black Velvet Halloween Cake, I use a mix of classic ingredients. The combination of flour, sugar, and cocoa powder gives the cake a rich flavor. The buttermilk adds moisture and a slight tang, while the eggs help bind everything together.
Boiling water is key. It makes the cocoa richer and brings out its best flavor. The black gel food coloring is optional but adds a fun, spooky touch. I love to use heavy whipping cream for the frosting. It makes the cake light and fluffy.
Each ingredient plays a role. For example, the baking soda and baking powder help the cake rise. The salt balances the sweetness. When you mix these ingredients, you get a cake that’s not just tasty but also visually striking.
You can find the full recipe within this section. Happy baking!
Step-by-Step Instructions
Preparation Steps
– Preheat your oven to 350°F (175°C). Grease and flour two 9-inch round cake pans.
– In a large mixing bowl, sift together:
– 2 cups all-purpose flour
– 1 ½ cups granulated sugar
– ¾ cup unsweetened cocoa powder
– 1 teaspoon baking soda
– 1 teaspoon baking powder
– ½ teaspoon salt
– In a separate bowl, whisk together:
– 1 cup buttermilk, at room temperature
– ½ cup vegetable oil
– 2 large eggs
– 2 teaspoons vanilla extract
Combining Ingredients
– Gradually add the wet ingredients to the dry ingredients. Mix gently until well combined.
– Carefully stir in 1 cup of boiling water. The batter will be thin.
– If you want a deeper color, add a few drops of black gel food coloring.
Baking and Cooling
– Pour the batter evenly into the prepared cake pans.
– Bake for 30-35 minutes. A toothpick should come out clean from the center.
– After baking, cool the cakes in the pans for 10 minutes. Then, transfer them to a wire rack to cool completely.
Feel free to check the Full Recipe for more details!
Tips & Tricks
Achieving the Perfect Black Velvet Look
To get that deep, rich black color, use boiling water in your batter. Boiling water helps to bloom the cocoa powder. This step enhances the chocolate flavor and gives the cake its signature black hue. If you want an even darker cake, add a few drops of black gel food coloring. Adjust slowly until you reach your desired shade.
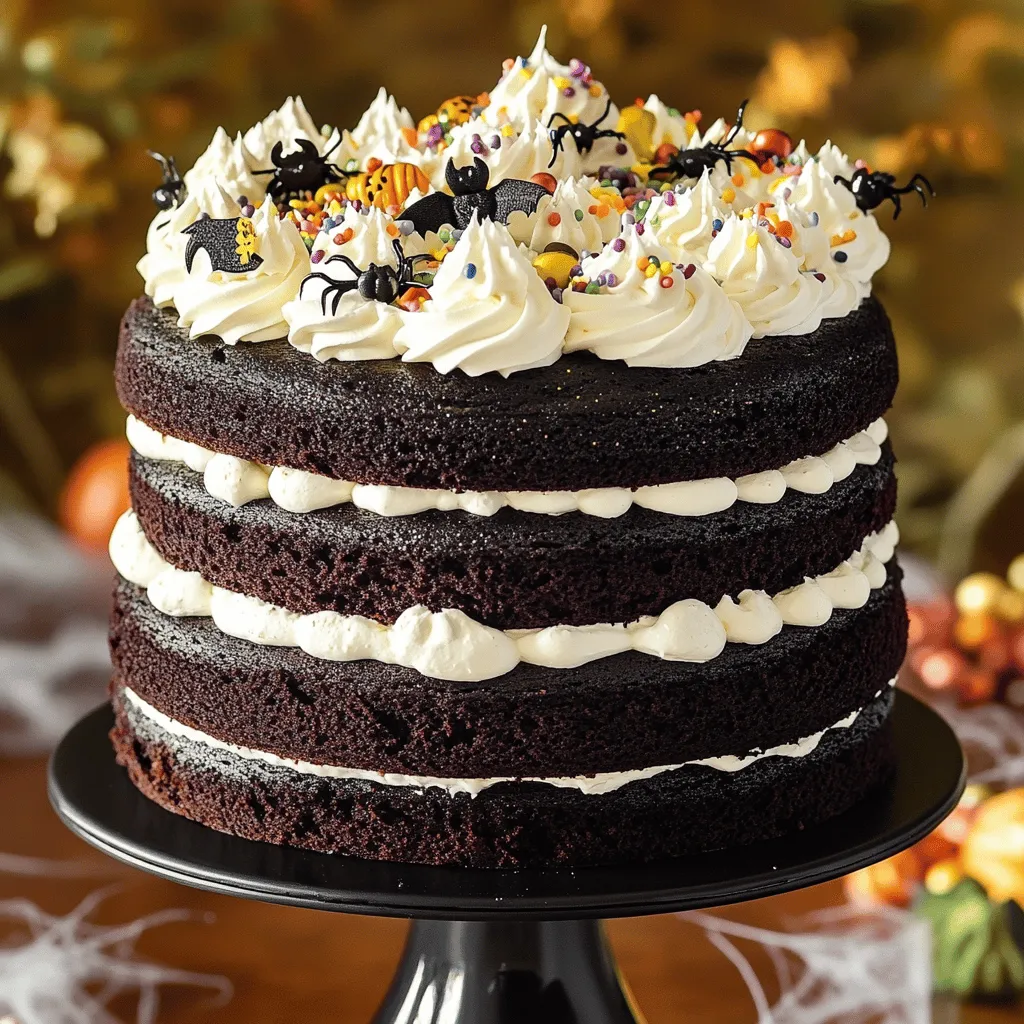
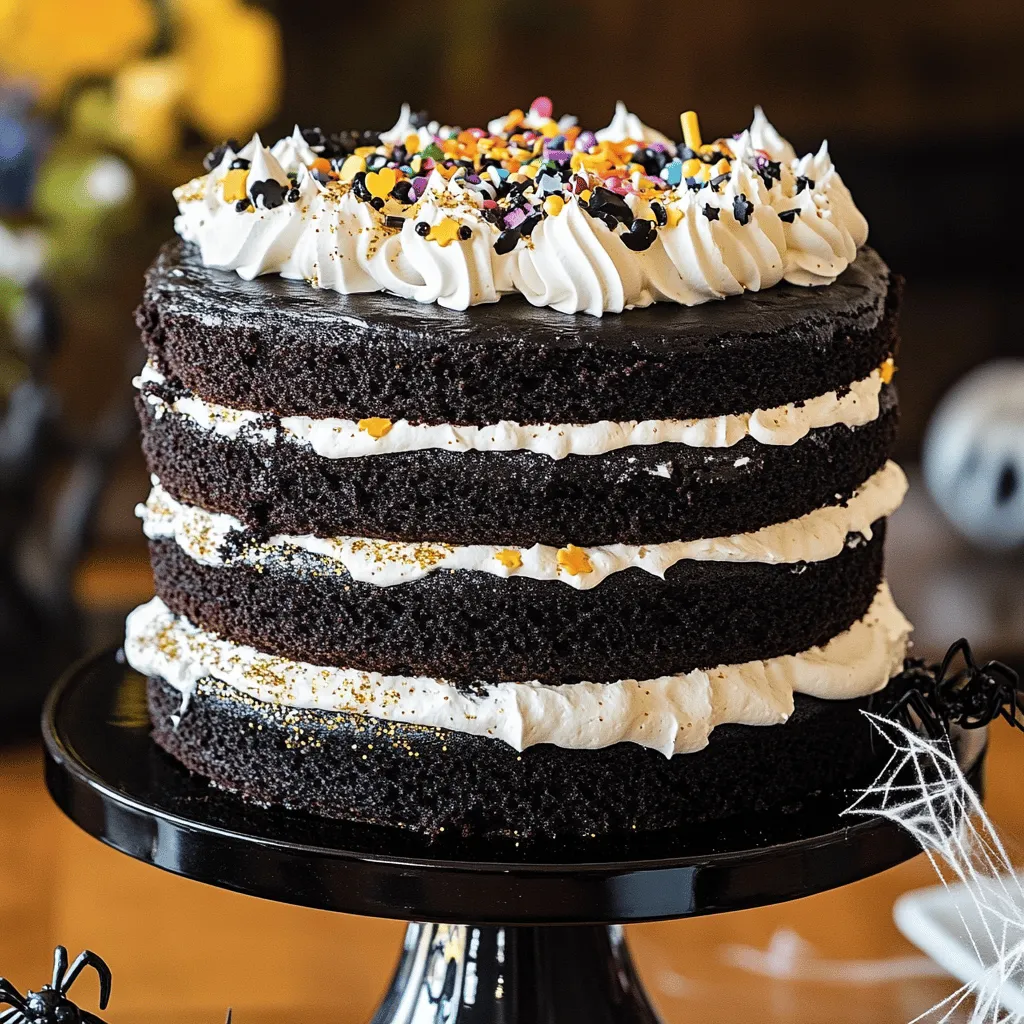
Decorating the Cake
Whipping the cream is key to perfect peaks. Start with cold heavy cream for the best results. Beat it until soft peaks form. This creates a light, fluffy frosting that complements the dense cake. For Halloween fun, think of creative decoration ideas. Use edible glitter or Halloween-themed sprinkles to give your cake a spooky flair. You could also add small chocolate spiders or ghost decorations.
Common Mistakes to Avoid
One common mistake is overmixing the batter. This can make the cake tough. Mix just until the ingredients are combined for a tender texture. Another mistake is not cooling the cakes completely before frosting. If the cake is warm, the frosting will melt. Always let your cakes sit until they are cool to the touch. Enjoy making your Black Velvet Halloween Cake with these tips! For the full recipe, check out the link provided.
Variations
Flavor Combinations
You can easily tweak the flavor of your Black Velvet Halloween Cake. Adding spices like cinnamon or nutmeg gives a warm touch. These spices mix well with the cocoa, adding depth. If you want a richer taste, consider incorporating chocolate ganache. Pour the ganache over the cake for a smooth, shiny finish. This adds a layer of decadence that will impress your guests.
Customization Ideas
Customization can make your cake even more special. You can try different frostings, like cream cheese or chocolate. Cream cheese adds a tangy bite, while chocolate brings a classic taste. Also, think about making smaller cakes or cupcakes. These bite-sized treats are fun for parties and easy to serve. Just adjust the baking time if you use different sizes.
Dietary Adjustments
If you need dietary options, you can make this cake gluten-free. Use a gluten-free flour blend to replace regular flour. This keeps the texture light and fluffy. For vegan substitutions, swap eggs with flax eggs and use plant-based milk. You can also replace the cream with coconut whipped cream. These adjustments allow everyone to enjoy this spooky treat without worry. For the full recipe, see above.
Storage Info
Short-term Storage
To store leftovers, wrap the cake tightly in plastic wrap. This keeps it moist and fresh. Place it in an airtight container for added protection. Keep it in the fridge for up to five days. If you want to enjoy it later, I suggest adding a piece of parchment paper between the cake and the wrap. This helps avoid sticking.
Long-term Storage
For long-term storage, cake layers can be frozen. Wrap each layer in plastic wrap, then place them in a freezer bag. This keeps them safe for up to three months. When you’re ready to enjoy, thaw the layers in the fridge overnight. For reheating, let the cake sit at room temperature for about 30 minutes before serving. This helps restore its soft texture.
Shelf Life
The black velvet Halloween cake stays fresh for about five days in the fridge. If stored properly in the freezer, it lasts for three months. Signs of spoilage include a dry texture or an off smell. If you see any mold, it’s best to toss the cake. Always trust your senses when it comes to food safety.
FAQs
What is black velvet cake?
Black velvet cake is a rich, dark dessert with a soft texture. It combines cocoa powder with a touch of black food coloring. This cake is different from red velvet and chocolate cakes. Red velvet has a hint of cocoa and a tang from buttermilk. Chocolate cake is more intense in cocoa flavor, while black velvet is lighter and fluffier.
How can I make this cake less sweet?
To reduce the sweetness of your black velvet cake, you can cut back on sugar. Try using only 1 cup of granulated sugar instead of 1 ½ cups. You can also add a bit more cocoa powder. This will balance the flavors and keep the cake rich. Another option is to use unsweetened whipped cream as a topping.
Can I make this cake ahead of time?
Yes, you can make black velvet cake ahead of time. To do this, bake and cool the cake layers completely. Wrap each layer in plastic wrap. Store them in the fridge for up to three days. You can also freeze the layers for up to three months. Just remember to frost the cake right before serving for the best taste.
This black velvet cake is a delight with its rich flavor and stunning look. We covered the key ingredients, easy steps, tips for perfect results, and fun variations. Remember to use boiling water to enhance the color and flavor. Don’t skip the cooling time before frosting. With these tips, you can create a cake that impresses everyone. Enjoy your baking adventure!
