THE RECIPE HATCH
Where tasty ideas take flight! 🚀🐣 Fresh, easy recipes hatched daily to make cooking simple and flavorful.
BEST CATEGORIES
TRENDING


NEW RECIPES

Air Fryer Cheesy Tortilla Garlic Bread Delight
Craving a quick and tasty treat? Let me introduce you to Air Fryer Cheesy Tortilla Garlic Bread! Picture crispy, cheesy goodness with a hint of
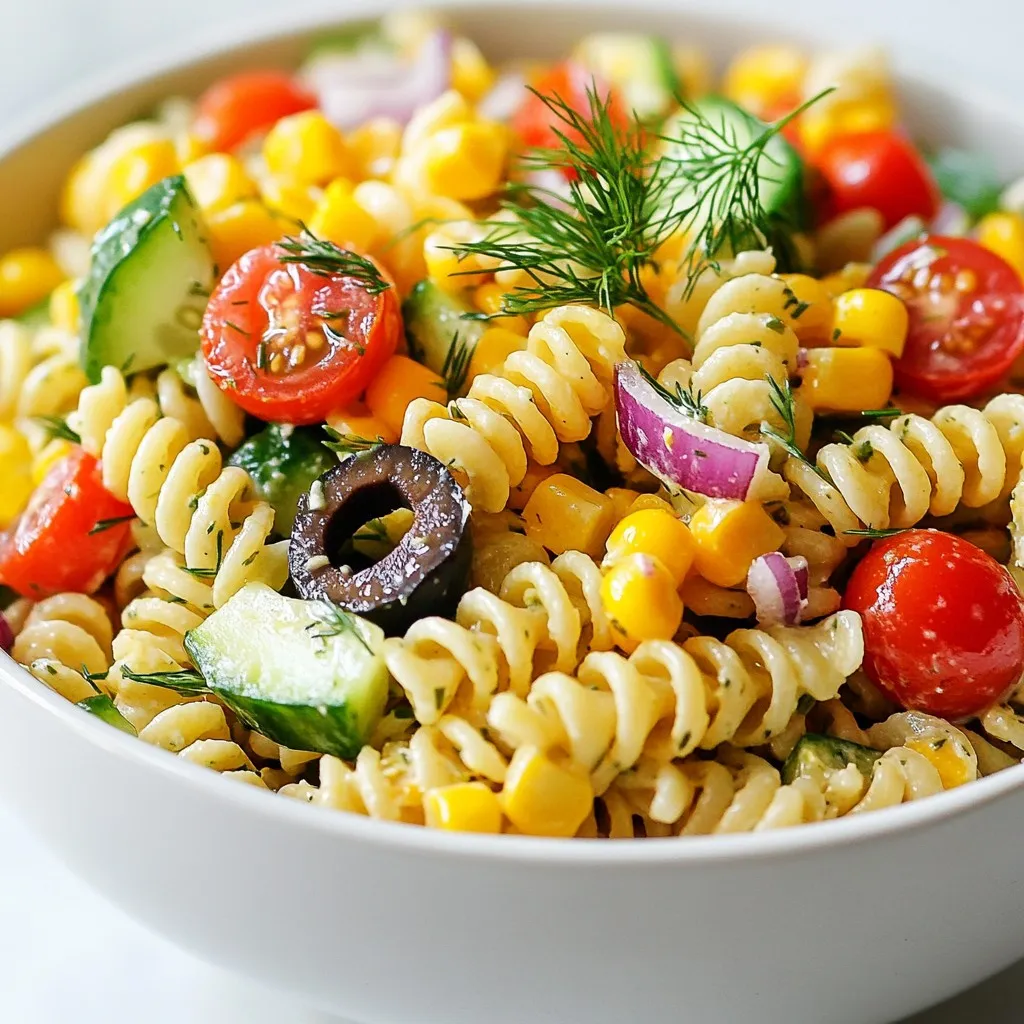
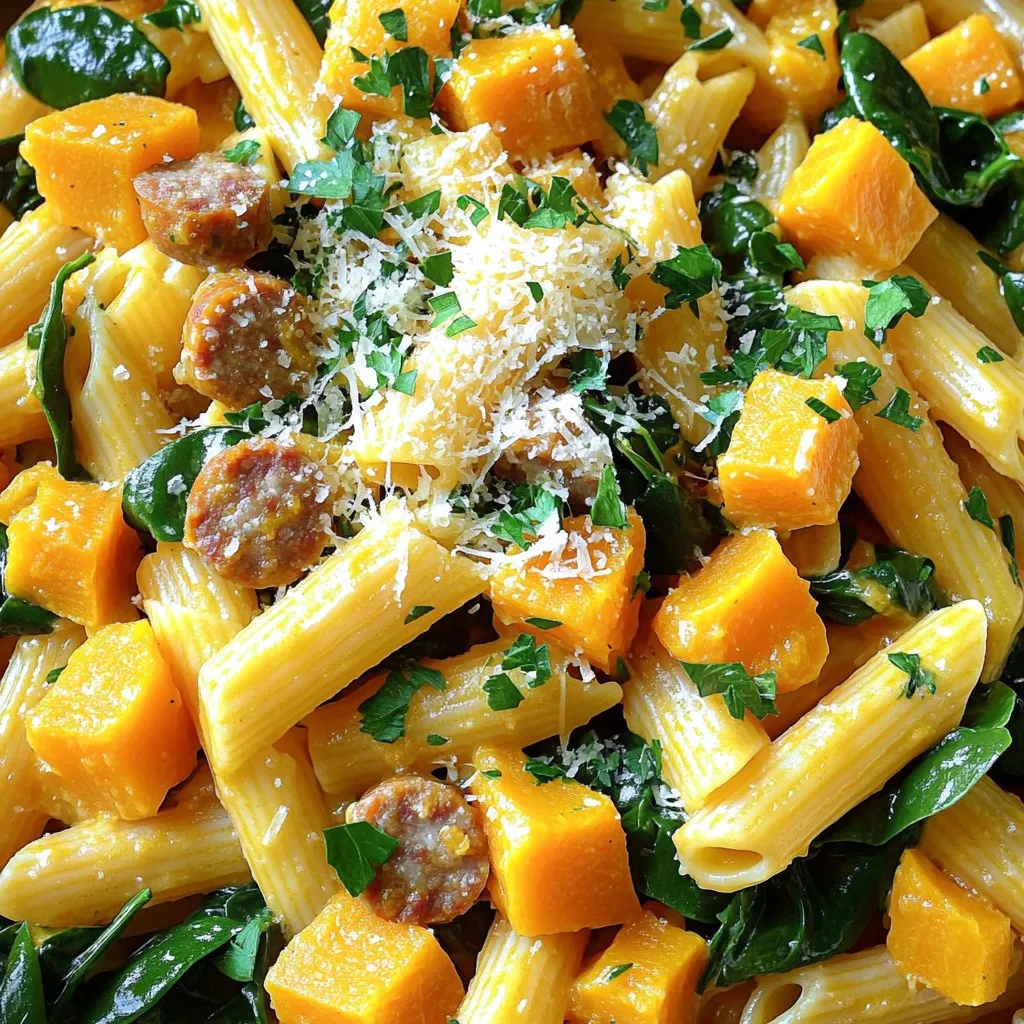
Vegan Cucumber Pasta Salad Fresh and Flavorful Dish
Are you looking for a refreshing dish that’s both light and satisfying? Try my Vegan Cucumber Pasta Salad! Packed with whole wheat pasta and crisp

Homemade Cinnamon Rolls Flavorful and Soft Treats
Are you ready to fill your home with the inviting aroma of homemade cinnamon rolls? These flavorful and soft treats are easier to make than
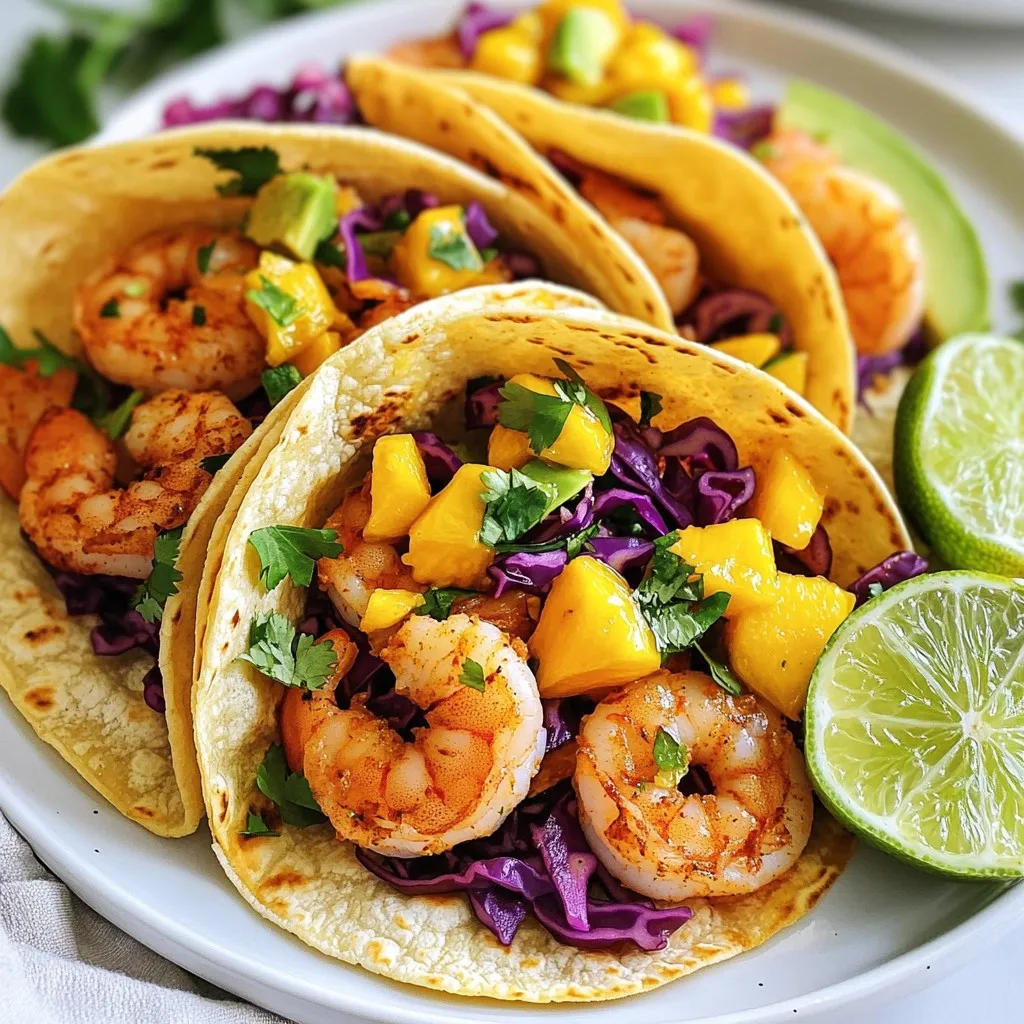
Easy Shrimp Tacos Flavorful and Quick Weeknight Meal
Looking for a quick and tasty dinner? Try these easy shrimp tacos! With fresh shrimp, zesty spices, and vibrant toppings, you can whip up a
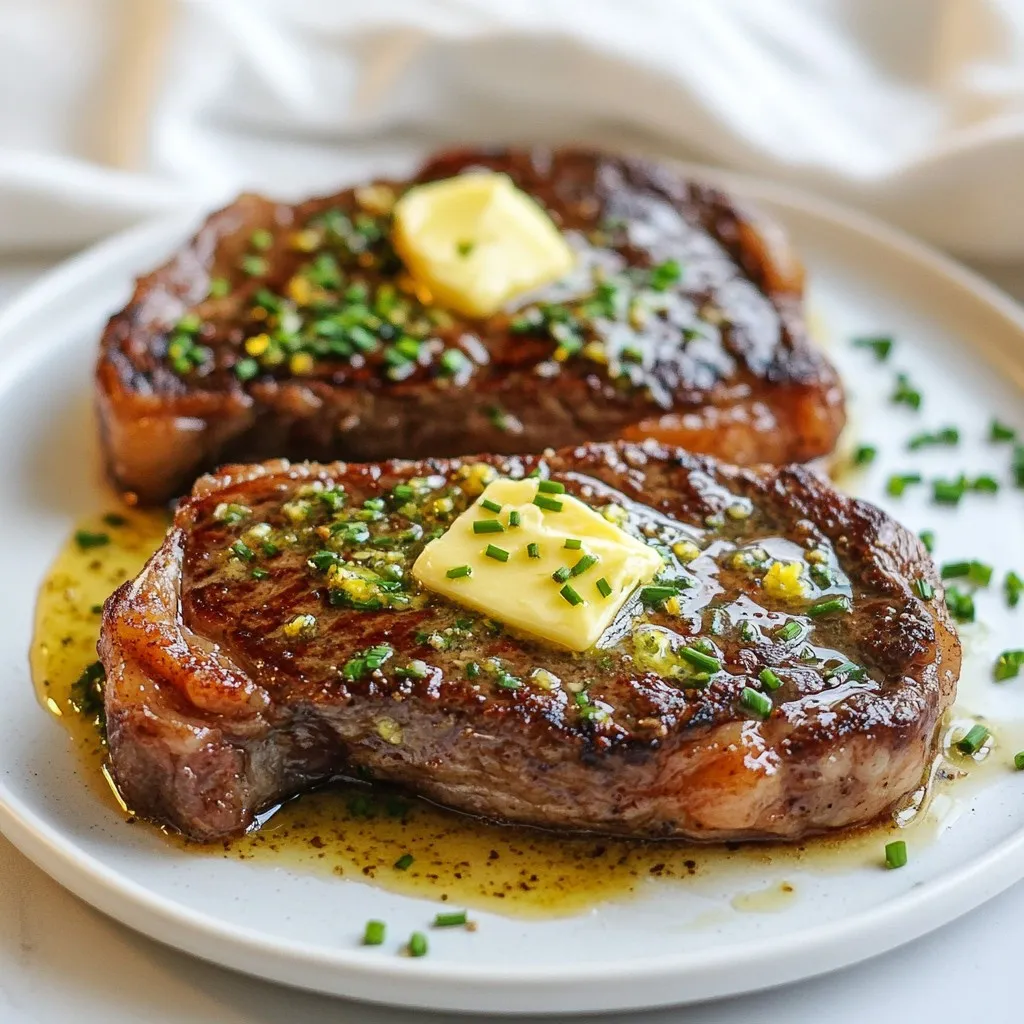
Cowboy Butter Steak Grilled to Perfection Every Time
Are you ready to take your grilling game to the next level? In this article, I’ll show you how to make Cowboy Butter Steak that

Cajun Chicken Pasta Flavorful and Simple Dinner Idea
Are you craving a dinner that’s both flavorful and easy to make? Look no further! Cajun Chicken Pasta is the perfect dish to satisfy your
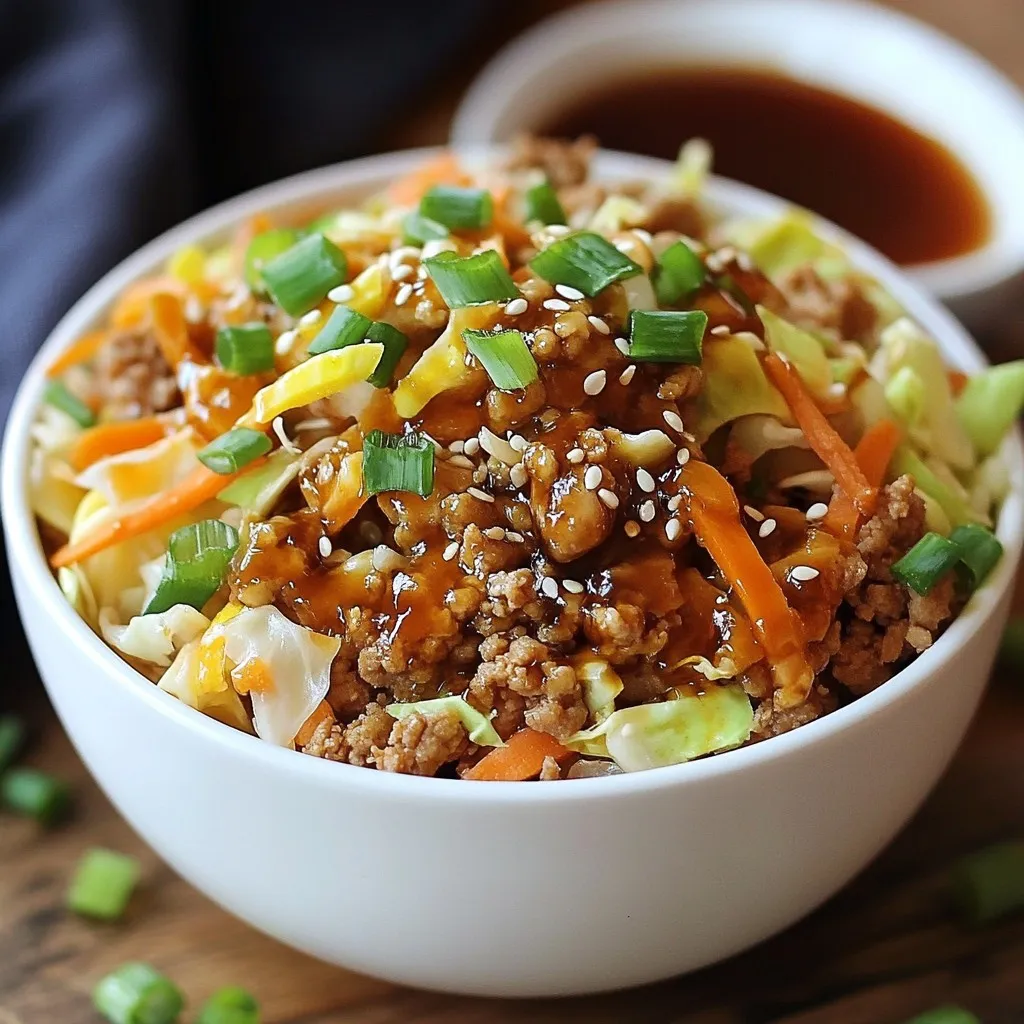
Egg Roll in a Bowl Simple and Flavorful Dish
Craving a tasty, quick meal? Look no further! Egg Roll in a Bowl is your answer. This dish packs all the comforting flavors of traditional

White Chicken Enchiladas Delightful and Easy Recipe
Craving a tasty dinner that’s simple to make? You’re in the right place! My White Chicken Enchiladas recipe is not only delightful but also easy